Have you ever wanted to enjoy camping “off the grid” and without relying on an electric hookup RV site? When you install solar panels on your new or used RV, you can stay fully powered up without being plugged in! Learn more below in our RV tips for solar panel installation.
Step 1: Safety is Key
Please note: installing solar panels requires some understanding of electrical wiring. Your safety is the #1 priority, so if you are uncertain or not confident, please schedule installation with our RV service department. The following should be considered a general guide only.
- Make sure to read the instructions in your solar kit before beginning.
- Never touch any electrically active components while the solar panels are exposed to light.
- Do not install solar panels in the rain or other inclement weather.
Step 2: Mount the Panels
Familiarize yourself with your solar kit and also your RV. For your RV, you’ll need to know your roof size as well as its type: fiberglass, rubber, flat, curved, etc. Your solar kit needs to match what kind of panels your roof can accommodate.
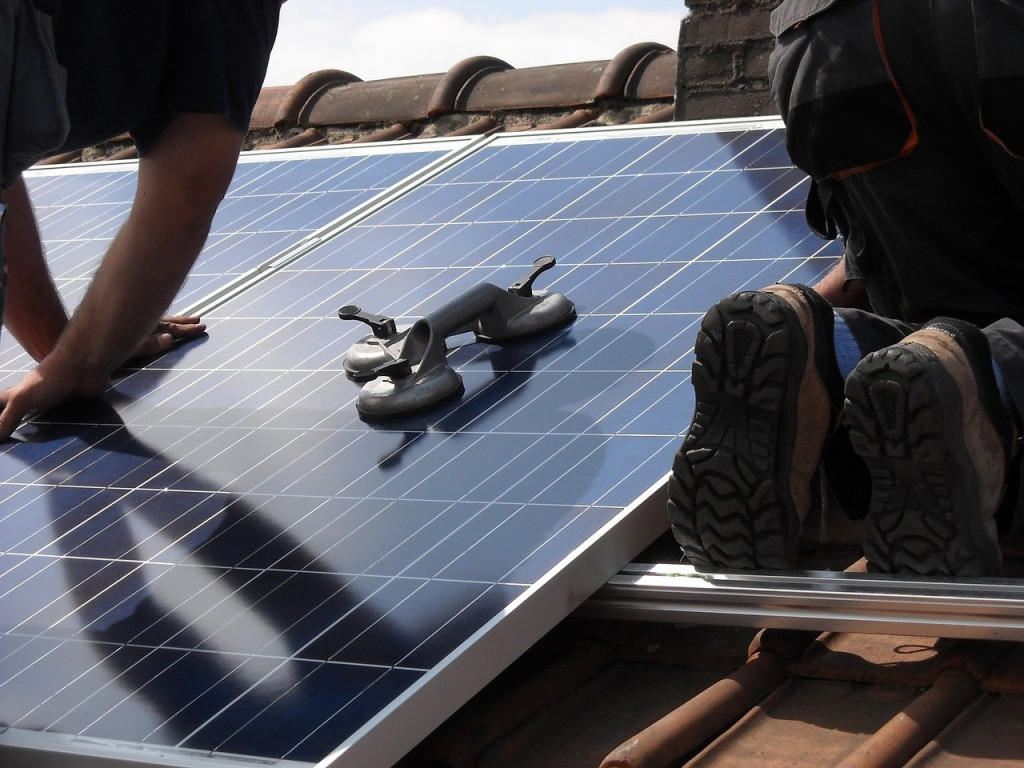
Flexible solar panels are typically mounted with adhesive, but also sometimes with screws. This is where you need to know your roof’s membrane, because the type of roof you have determines what kind of adhesive is required. Rigid solar panels are only mounted with screws and hardware.
After determining the placement of your panels on the roof, install the hardware to the panel frame. Make absolutely sure to only attach to the frame – sending a screw through the panel itself will be a costly mistake. Attach the panels to the places you’ve marked on the roof.
Step 3: Run Wiring
The solar panel power cable now needs to be run down into the RV to the charge controller. The most common method is to go through the refrigerator vent or plumbing pipe.
Step 4: Connecting the Charge Controller
Mount the charge controller as close as possible to your batteries. Once you bring in the wires from the panels, you will want to test your wire polarity using a multimeter.

A good safety measure to take is to mark and identify your wires with colored electrical tape. Follow the solar kit instructions to connect the charge controller to the solar panels.
Step 5: Installing the Inverter, optional
If you plan on using your AC power appliances off the grid (and you probably will), you’ll need to install an inverter to convert the DC power your solar panels provide. We recommend installing the inverter near the batteries. Connect the negative and positive wires to the inverter (always connect the negative wires first!), and then connect to the electrical system in your RV.
RV solar panel installation can be done on a DIY basis, but if you have any questions or concerns, our technicians are ready to help. Contact us today to schedule solar panel installation with our RV service department!
